
Welcome at Shiftbase! Great that you have started an account.
Now the question is, where do I start?
In this article you will find the easiest steps for setting up your Basic account.
Contents
Step 1: Adding locations and departments
Step 2: Adding teams and shifts
Step 4: Checking contract types
Step 1: Adding locations and departments
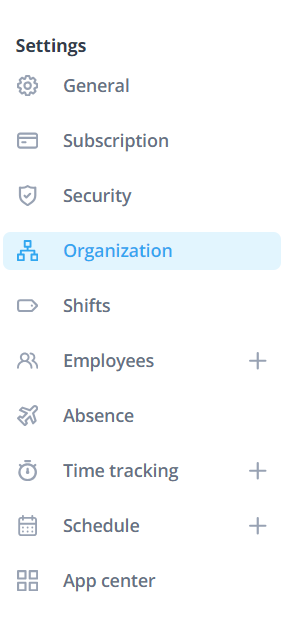
Depending on the size and structure of the company, branches and departments can be created. An overview of the structure can be found here. It is managed from: Settings > Organization.
⚠️ Warning: You can only have 5 active departments in the Basic version. There are no limitations in the Premium version.
💡Tip: If you add the address to your department, this now allows you to use our weather forecast.
Step 2: Adding teams and shifts
Once the locations and departments are added you can divide these departments into teams. This allows for more clarity in the schedule. If you don't know how to structure your account, consider reading up our guide here.
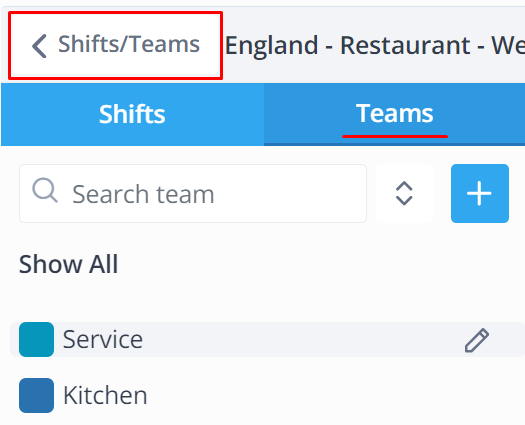
The first team is already added with every department by default. These are named after the department. Of course you can edit these names if you'd like to. Simply click on the pencil symbol when in the overview of teams.

How to add and edit teams in the tab Organisation can be found here.
How to add and edit teams in the tab Schedule can be found here.
If you'd like to set up the Shifts for your account you can either do that via Settings > Shifts or via Schedule > Shifts/Teams > click on the + symbol.
How to add and edit Shifts in the tab Shifts can be found here.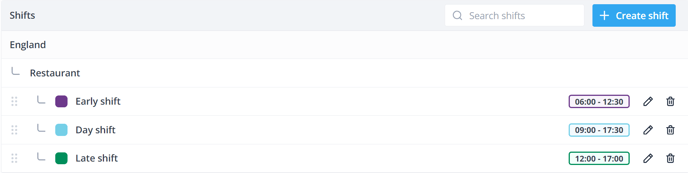
How to add and edit Shifts in the tab Schedule can be found here.
💡Tip: Open shifts are now also available for Basic subscriptions. For more information click here.
Step 3: Timesheet settings
Now you can create the schedules and register the worked hours. The timesheet settings can be adjusted based on your preferences as a user. To find the options below go to Settings > Time tracking > Clocking
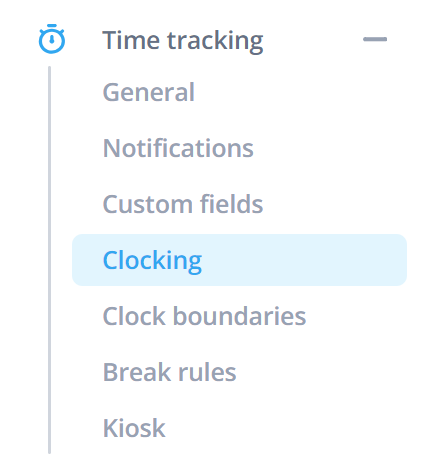
At the timesheet settings you will find the following settings:
If you should have questions about setting your timesheet settings, feel free to contact our support.
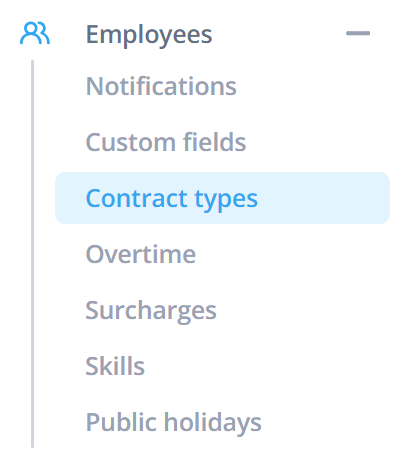
Step 4: Checking contract types
By default there are two contract types.
- Zero hours
- Fixed hours
The contract types determine the option for plus-minus hours or to add a standard surcharge card and absence policy.
These settings can be found at: Settings > Employees > Contract types.
Click here for more information about editing contract types.
⚠️ Warning: It is not possible to add more contract types in the Basic version. There are no limitations with the Premium version.
Step 5: Reviewing permissions
The default user permission group is Employee. There are 4 user permission groups to choose from by default. The user permission groups can be found at: Settings > Security.
- Employee
- Have the permissions to view their schedule and add worked hours.
- Planner
- Have the permissions to view and edit schedules and certain employee data.
- Manager
- Have the permissions to view and edit worked hours of other employees and view and edit certain employee data.
- Admin
- Have the permissions to do everything including accessing the account settings page.
The permissions are pre-defined, for instance, the person responsible for the planning could receive the Planner permissions. Because of this it is not necessary to set up the permissions, but it could do no harm to check the various permissions and possibly edit them.
For more information regarding the permissions click here.
For more information regarding the user permission groups click here.
Step 6: Adding employees
Employees can be added via the Employees tab or the Schedule tab.
By clicking on the + Add employee you can add a new employee.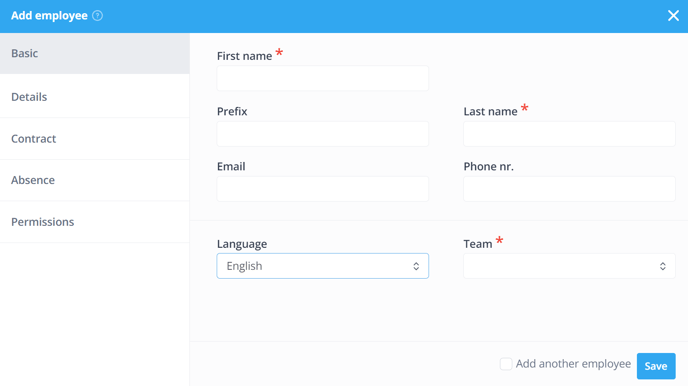
⚠️ Warning: When you add an employee it is mandatory to fill-in First and Last name. You should also add the Email if the employee needs to access their Shiftbase account.
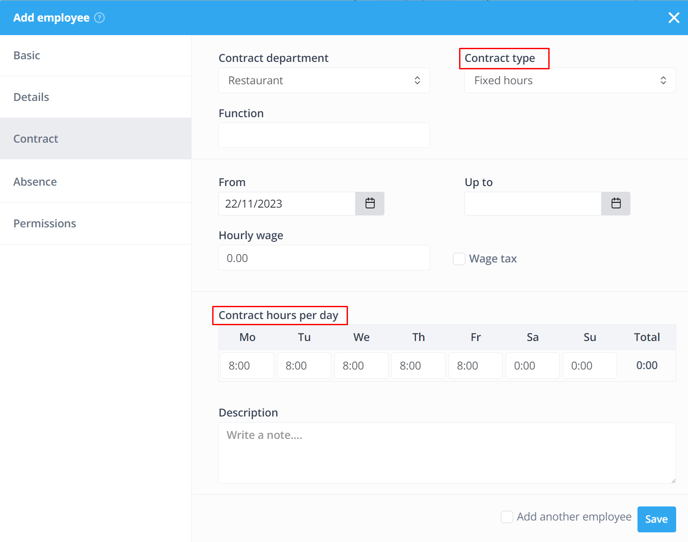
If an employee has fixed hours, the contract type Fixed hours should be selected and the fixed hours per day can be added at Contract hours per day.
For more information about adding and editing employees click here.
If you have a lot of employees you need to add to the system, you can use our CSV import. For more information about importing employees via a CSV file click here.
💡Tip: The Diary tab is now also available for Basic subscriptions. Here you can enter revenue and expenses per day. You can do this per department and team. That way you have clear insight into what is coming in and going out. To view the Diary, go to the Diary tab.
