
Contents
Adding the integration
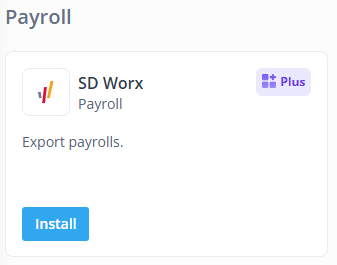
The SD Worx integration can be installed when navigating to Settings > App Center > SD Worx and clicking the Install button.
You will be prompted to insert your details.
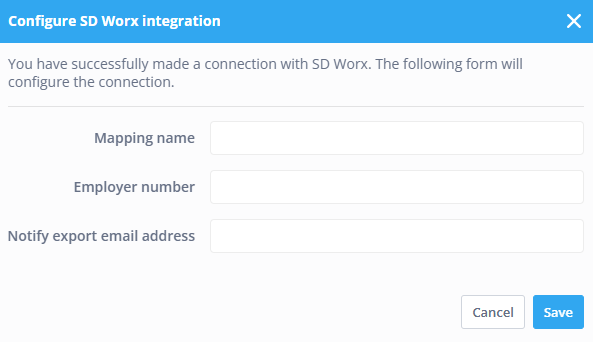
Please insert the following details
- Mapping name: Give the integration a name of your choosing.
- Employer number: Insert the employer number
- Notify export email address: Give the email adres on which you want to receive the .csv-file.
Configuring the integration
After saving the form you will be directed to the configuration menu. First, you will be at the Cost Centers tab.

In the Cost centers tab, you specify which departments in Shiftbase should be linked to SD Worx. You can choose between Do not export and Export. If you want to export the data of a department, click Non-export behind the department and select Export from the menu. Before going to the next tab, click the Save button at the bottom.
The second tab is Export employees. Here you link the employees whose hours you want to export.

Under Employee (SdWorx), enter the employee number as known in SD Worx. This is a 7-digit number. Again before moving to the next tab, click the Save button at the bottom.
👀 Example: John has employee number 0000412 in SD Worx
This number can be inserted in two ways.
Option A: John Johnson: 0000412
Option B: John Johnson: 412
Lastly, we have the Wage/Hour components. Here you specify per component from Shiftbase which should be linked. If certain components do not apply, they can be left on Do not export.

Do not forget to hit Save on the bottom of the page when you have finished setting up the components.
Sending reports
When the integration is successfully created and set up, a new report is available. This can be found under the Reports tab. You can select the report in the bottom left-hand corner.

You can set the following filters when reporting.
- Contract hours: (start date - end date): Here you select the period for the employees with fixed contract hours you want to export the data from.
- Hours worked: (start date - end date): Here you select the period for the employees without fixed contract hours you want to export the data from.
- Contract type: Here you have 3 options, Contract hours, Hours worked and Both. This means whether you want to export each contract type separately.
When you have set up the filters above, you can click the Run report button in the top right. An example will then be shown.
Then click the Send to SD Worx button to send this report.
It will be sent to the e-mail address specified under E-mail address for export notification. The csv file can then be imported at SD Worx.
⚠️ Warning: With this integration, to-be paid out vacation hours can be processed. De integration does not support in and exporting the actual balance. It is advised to manage the absence balances in Shiftbase.