On the Mobile app you have insight into your leave balances and vacation requests. As an administrator, you can easily view and approve absences as well.
Contents
Adding / editing absence (Planner)
My absence
If you navigate to the Absence tab on your Mobile app, you'll find an overview of your current amount of absence hours or days, expected end balance of absence hours/days at the end of the year/contract and the amount that's still over for your future requests that have been approved. 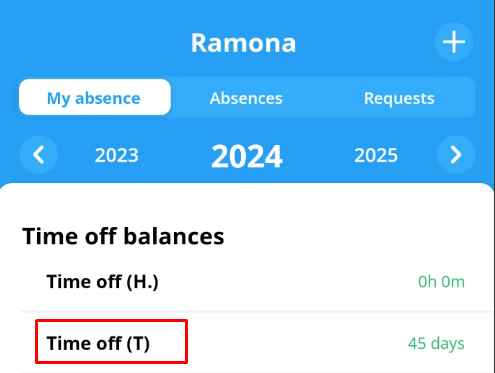
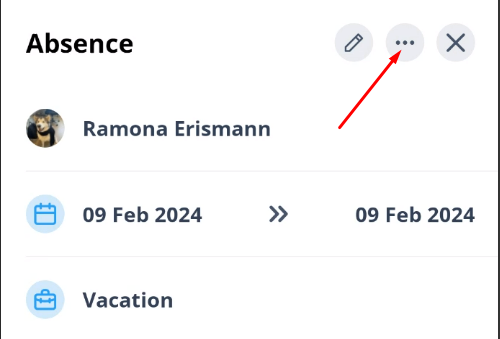
By pressing on an absence request you can view the details of the request. Ff the request hasn't approved yet by your supervisor you can still freely edit the request. You can do this by pressing on the request followed by the pencil icon. You can remove the request by pressing on the request and then selecting the three dots on the top right.
When you press the + button on the absence main page you can add an absence request.
-
Start and End date: Here you pick the start and end of the absence. If it's for 1 day select the same start and end date.
- Type: you'll choose the type of absence you'd like to request. By default, employees can only request vacation.
-
Do you want to be absent for a part of the day? Then click on hours followed by whole day. Here you can indicate a part of the day. You fill in the desired hours that you want to include and below that the start time from when the absence should take effect.
-
- Duration: Hours or days is already filled in automatically based on your contract type and rules. You can adjust these hours if necessary.
If your absence type is in days, you can select the full day, half day from, half day until and no absence.
-
Note: Add additional information for your request.
-
Hide days without value: Days that have zero hours allocated to them won't be displayed on the schedule.
Adding / editing absence (Planner)
If, as a planner, you click on an absence or add an absence for an employee, you have a number of additional functions. You can approve, reject or give an undecided status to a request.
- Send notification: Ensures that the employee in question receives a message.
- Intermediate shifts: This determines what happens to the shifts the employee has on the schedule during the absence period. See below the three possibilities.
⚠️ Warning: If you're automatically copying the schedule to the time sheet this will copy these shifts so the employee will have a double timesheet registration.
-
- Show in schedule: Leave the shifts on the schedule. Attention! If you copy the schedule automatically, employees may receive a double registration for that day.
- Remove from schedule: This will hide the shift so they aren't visible on the schedule. Hidden shifts won't be copied to the time sheet. You can make the shifts visible again by editing the absence and choosing for Leave in schedule.
- Move to open shift: This will move the shifts from the employee to the open shifts. This allows you to invite other employees to work that shift.
⚠️ Warning: Moving shift to open shift can't be undone.
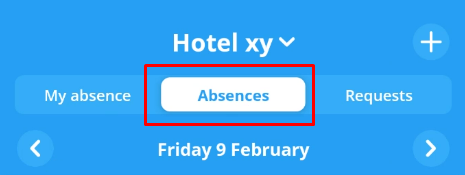
Absence (Planner)
Here you'll find an overview of all the employees that are absent on the selected day.
You can press on a request to see the details and make changes.
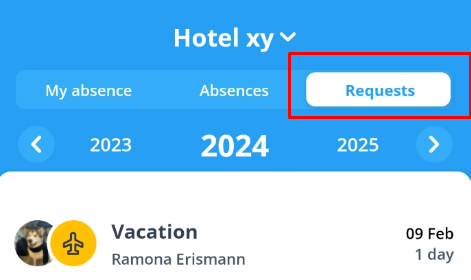
Requests (Planner)
Here you'll find an overview of all the absence requests that are still pending approval.
You can press on a request to see the details, make changes and approve or decline the request.