
In Shiftbase, it is possible to create an integration with Connexie that allows data to be exchanged without manual intervention.
What can this integration do for you? Read more here.
Content:
Creating the Connexie integration
Configuring the Connexie integration
Creating the Connexie integration
⚠️ Warning: Do not send your token via the e-mail or chat.
You can share the Client ID/secret with us over our Password Pusher.
Only add the Client ID/secret in the designated area at the integration. The token is like a password to privacy sensitive data.
Requesting the Connexie integration can easily be done by heading to Settings>App center> Connexie. Here you can request the integration by clicking on the +Install button.
-
Here you can add your log in data of your Connexie account. Afterwards click on Connect.
-
In the following screen you add a name for the integration and here you can add a price for the meal and kilometer compensation (these will be automatically calculated and added to Connexie). At the bottom you add the e-mail address for the export notification. The following items can be selected by placing a check mark:
-
-
Automatically add new employees
-
Departments are managed by Connexie
-
End dates are managed by Connexie
-
Contract hours are managed by Connexie
-
Wages are managed by Connexie
-

Configuring the Connexie integration
The configuration of the integration with Connexie can be done in a few steps.
-
Linking the contract departments
-
Linking the contract types
-
Linking the employees
-
Linking the cost centers
-
Linking the wage/hour components
-
Linking the contract departments
You can link the contract departments in the first tab. On the left side you´ll see the cost centers available in Connexie. On the right side you can select the contract department available in Shiftbase with the use of a drop down menu. -
Linking the contract types
In the second tab you can link the contract types. First you link the External contract types. On the left side you can see the contract types available in Connexie. On the right side you can select the corresponding contract type available in Shiftbase.
Following you will find Internal contract types.
On the left side you will find the contract types available in Shiftbase. On the right side you can select the corresponding contract type available in Connexie. -
Linking the employees
In the third tab you can link the employees. This can be done using a drop down menu behind every employee. Here you find the following the categories.
Unmapped employees; The employees that are not known yet in Shiftbase appear in this category. Depending on your settings, these will either automatically be imported to Shiftbase or can be manually imported to Shiftbase.
Mapped employees; There is an extra option on the right side of this category. This one is called Data. Here you can select per employee whether to "Import data only", "Import data and export hours" and "Export hours only".
Excluded employees; Here you can find the list of excluded employees.
Inactive employees; Here you will find inactive employees, these are employees that no longer have an active contract within Connexie. -
Linking the cost centers
In the fourth tab you can indicate which departments need to be exported. You can easily indicate this per department. -
Linking the wage/hour components
Finally the wage/hour components need to be linked. Here you'll see a summary of the variety of worked hours, surcharges and absences. Behind every hour component you choose to use you need to select the corresponding component. Do not forget to save your changes.
Connexie payroll export
After setting up the integration with Connexie you'll gain access to a new report called Connexie. This report can be found at Reports>Report Dashboard>Connexie.
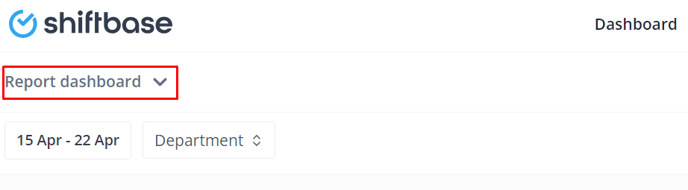
After selecting this report you'll be able to select a period and the configuration. By pressing the +Run report button you'll be shown a summary of accorded hours. By clicking on Send to Connexie you'll now have added the timesheets to your Connexie account.
💡Tip: When an employee leaves the company, it is wise not to synchronise the employee in the link anymore. This can be done by setting the employee to Not import in the connection. You can do this by going to Employees and clicking on the employee name and choosing Don't import.
⚠️ Warning: With this integration, holiday hours to be paid out can be processed. Please note that the integration does not process leave balances to and from Connexie. It is desirable to process leave balances within Shiftbase.
